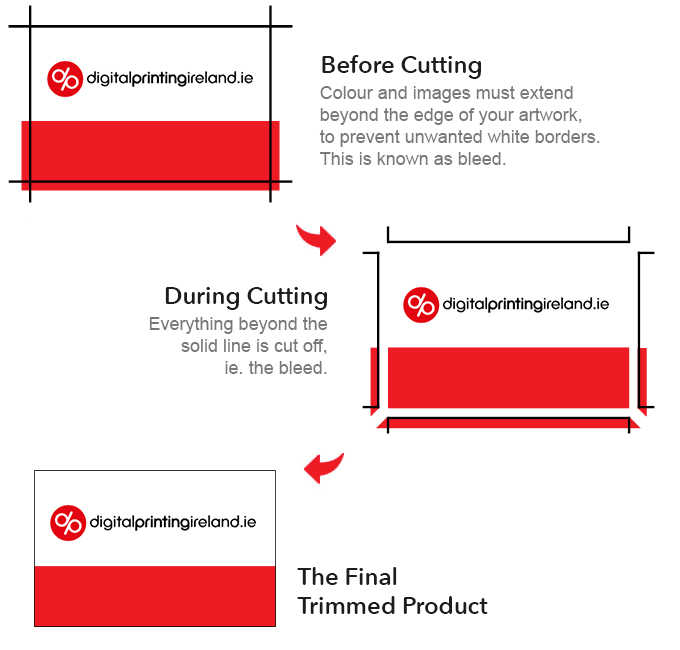
What is Bleed?
Digital print movement can be a challenge for both printers and designers. Throughout the production process, slight movements are inevitable and cannot be completely prevented, but applying bleed can help. Bleed is ink that prints beyond the trimmed edge of the page to ensure it is finished as expected after trimming. You should always create at least 3mm bleed on all edges where bleed is needed. Supplying your job without bleed may result in white lines when we trim it.

How do I apply Bleed?
The concept of applying bleed is the same for all desktop publishing programmes. You need to extend the object box, whether picture or colour, out past the edge of your page. Then, when creating the PDF, you need to set your bleed margins to 3mm.

With Microsoft Word, PowerPoint or Adobe Photoshop you do not have the ability to add bleed when creating a PDF. You need to make your page/image size 6mm bigger at the start. You will then treat the extra 6mm (3mm all round) as bleed, which will be removed when we trim your job. For example, A4 is 210mm x 297mm. Your page with bleed will be 216mm x 303mm.


